*Additional ingredients: I brush the tops of my baked rolls with butter once out of the oven. Should be about 1 tablespoon of butter, if that. I also sometimes lightly sprinkle flaked Maldon salt on top of my freshly buttered rolls.
INSTRUCTIONS
Add all the ingredients EXCEPT for the flour and yeast into the bread machine pan in the order listed.
Add in the all-purpose flour.
Make a well in the center of the flour and add in your yeast.
Once bread machine pan is locked in place, set the bread machine setting to DOUGH.
Once the bread machine completes its dough cycle, remove the dough from the bread machine pan onto a lightly floured surface.
Divide dough into half, then cut each half into thirds, before cutting each third into halves for a dozen large rolls.
Roll each piece into a ball and place onto a greased 9×13 baking pan.
Place the rolls in a warm place (*see notes) to rise for about an hour (until doubled in size).
Heat oven to 400 degrees.
Bake for 12-15 minutes, or until golden brown.
Brush the tops of the freshly baked rolls with butter (and sprinkle tops with flaked Maldon salt, if desired).
NOTES
For my warm place, I heat my own for only 1 minute at 350 degrees (just enough to warm the space), turn off the oven, turn on the oven light, and let my rolls rest in the closed oven for the required hour.
*I have a lower calorie version here, which we actually enjoy even more, but that may be because of our diet brains!
INGREDIENTS
140 grams all purpose flour
1 tsp baking powder
1/4 tsp baking soda
40 g of sifted cocoa powder
pinch of salt
90 grams (1/2 cup) brown sugar
60 ml (1/4 cup) vegetable oil
1 tsp vanilla extract
1 large egg
120 ml (1/2 cup) whole milk
75 g (1/2 cup) chocolate chips … plus more for decorating tops, if desired.
INSTRUCTIONS
Preheat oven to 350 degrees.
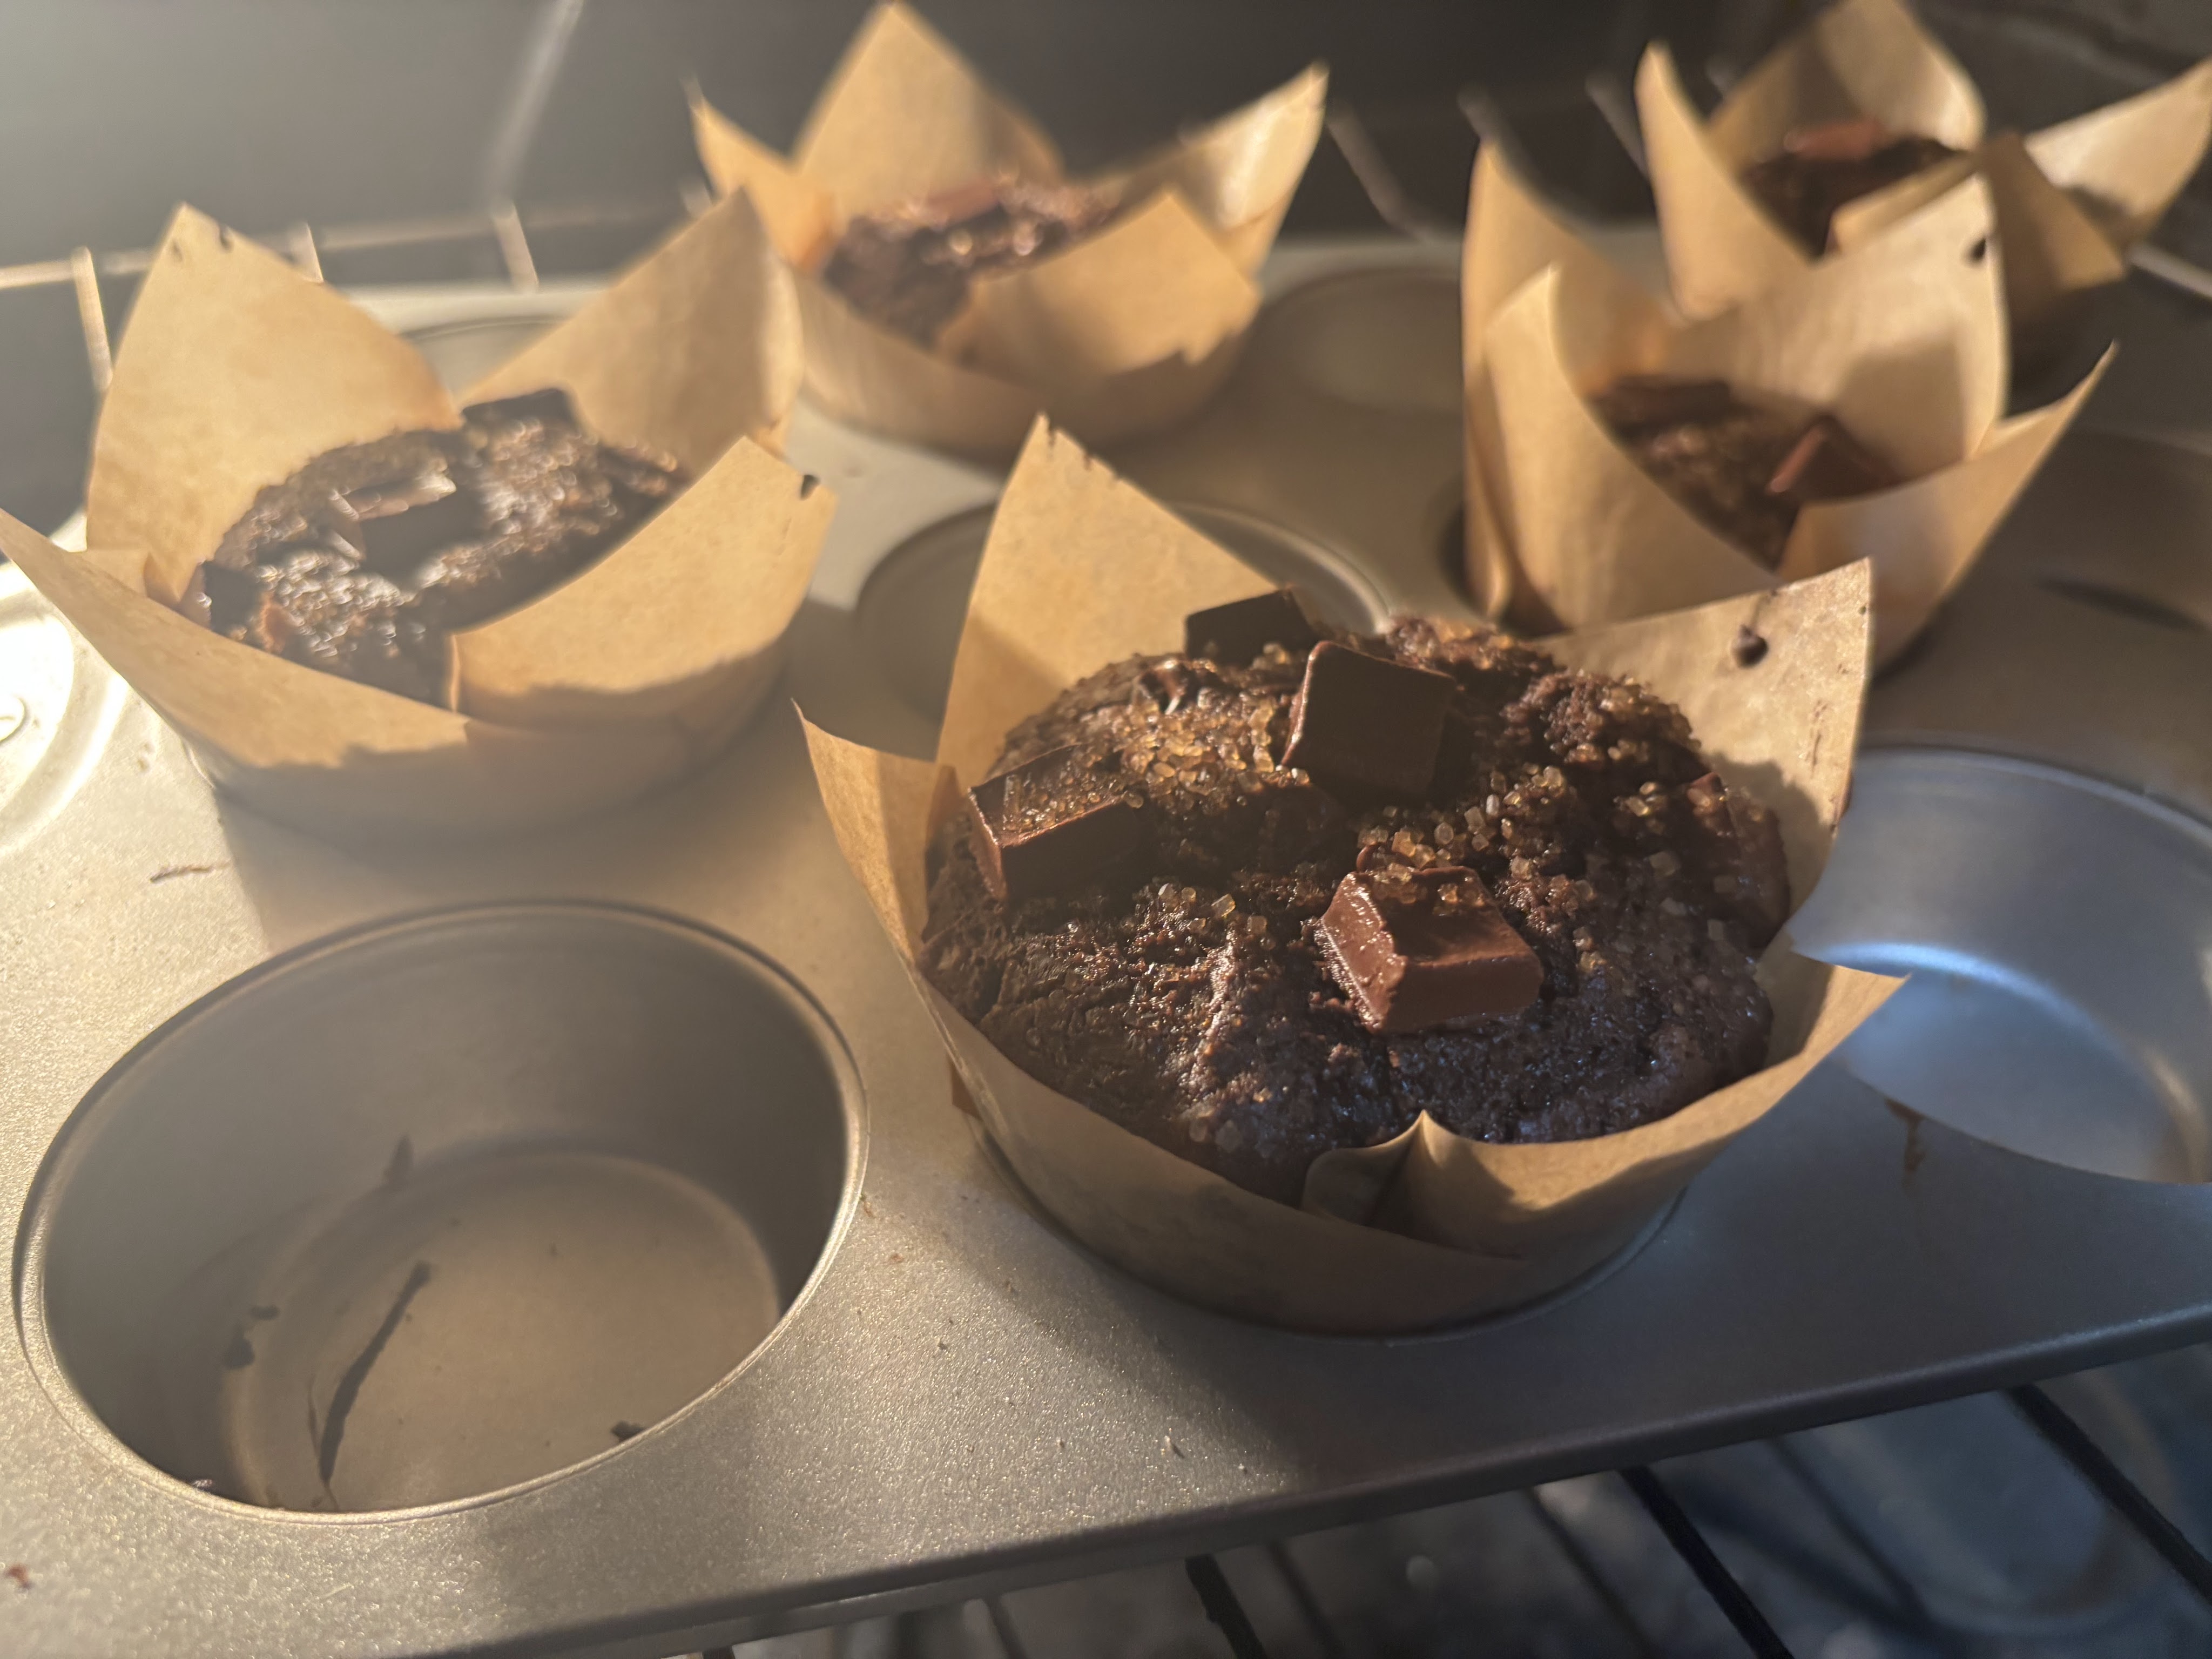
Place 6 liners in muffin tin, alternating cups to leave a cup between each muffin if possible.
In a large mixing bowl, sift together flour, cocoa, baking powder and baking soda.
Add salt, sugar, oil, vanilla, egg, and milk to dry ingredients and stir until combined. Try not to overmix.
Stir in chocolate chips.
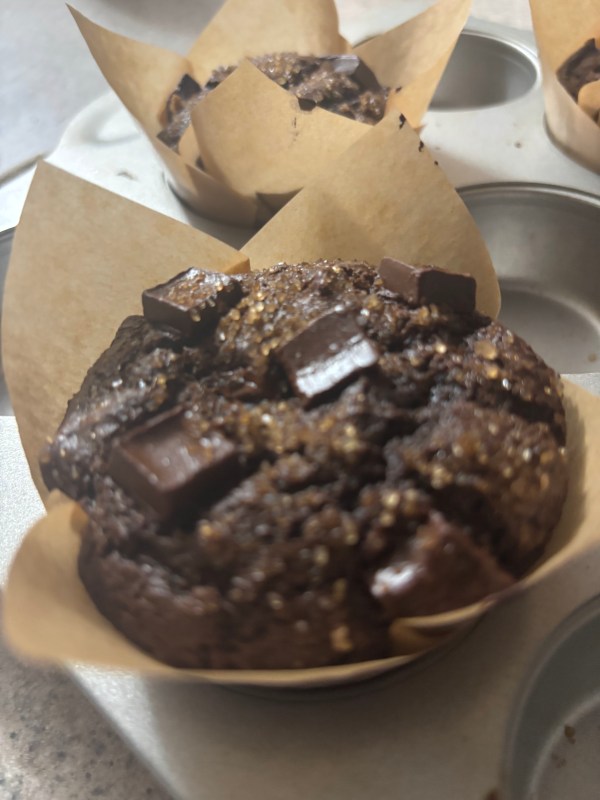
Fill 6 lined muffin tins with mixture, overfilling to achieve a bakery-style muffin.
Dot top with additional chocolate chips (I love using chocolate chunks on top or chopped pieces of quality chocolate bars).
Bake in oven at 350 degrees for 18 minutes until risen & domed.
NOTES
Makes 6 bakery style muffins. If not sweet enough for your taste, add 2 heaping tablespoons of granulated sugar in addition to the brown sugar. However, I find these perfect as they are for my tastes. The chocolate flavor is deep and rich, akin to a lava cake or brownie.
French Vanilla box cake mix (or cake mix of your choice)
1/3 cup neutral oil
2 eggs, slightly beaten
powdered sugar to roll cookies in for crinkle texture
INSTRUCTIONS
Preheat your oven to 350°F (175°C) and line a baking sheet with parchment paper.
In a mixing bowl, combine the red velvet cake mix, eggs, and vegetable oil. Stir until a thick dough forms. Chill the dough for about 15-30 minutes to make it easier to handle.
Using a cookie scoop or your hands, form the dough into balls (about 1 inch in diameter). Roll each ball in powdered sugar until fully coated. For a better crinkle effect, roll them twice in powdered sugar.
Place the cookie balls on the prepared baking sheet, spacing them about 2 inches apart. Bake for 10 to 12 minutes, or until the edges are set but the centers are still soft. The cookies will continue to firm up as they cool.
Cool and Enjoy: Allow the cookies to cool on the baking sheet for a few minutes before transferring them to a wire rack to cool completely. Enjoy your delicious red velvet crinkle cookies!
NOTES
These are just typical cake mix cookies, and any flavor cake mix will do. The cake flavor in the preview image is birthday cake flavored, for example. However, there’s something special about using the French Vanilla box mix for these treats. It provides almost a cheesecake-like flavor that is our favorite. Enjoy!
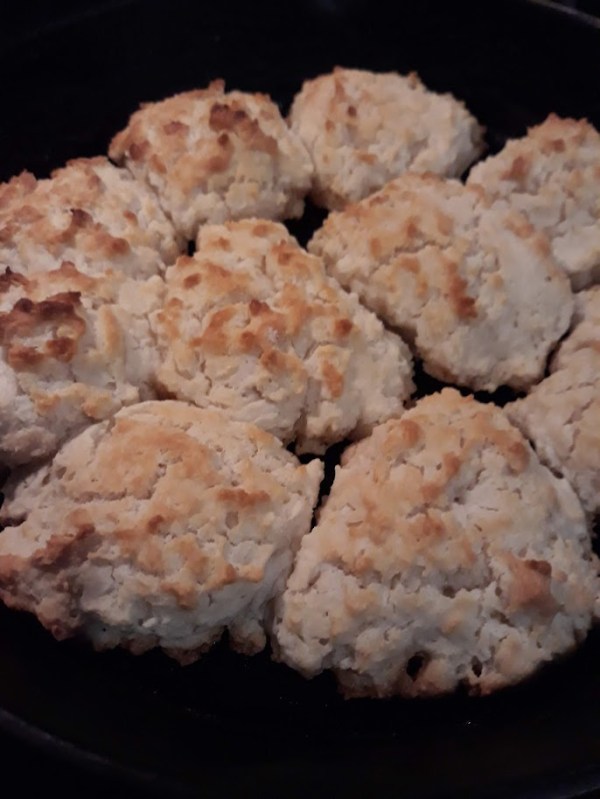
The perfect biscuit is such a personal preference. Some people enjoy soft, fluffy biscuits. Some people enjoy a buttery, layered biscuit. And me? I love a biscuit that is somewhere between my mom’s fluffy biscuits and my grandmother’s buttery biscuits with a crispy crust straight from the cast iron. That’s where these easy swim biscuits come in!
INGREDIENTS
Biscuits:
1 stick of butter
2-1/2 cups flour
4 teaspoons baking powder
4 teaspoons sugar
2 teaspoons salt
2 cups of milk
Chocolate Gravy:
3/4 cups sugar
1/4 cups cocoa
3 tablespoons flour
1 tablespoon of butter
2 cups of milk or water
pinch of salt (to taste)
INSTRUCTIONS
Biscuits:
Turn on oven to 425 degrees.
Place stick of butter into your cast iron skillet and put into oven as it is heating. Remove from oven when butter is melted (about 10 minutes). I like to leave it in there until the milk solids start turning golden.
In a bowl, combine dry ingredients before adding in milk.
Once butter is melted in iron skillet, drop heaping spoons of dough into the melted butter forming individual biscuits. I usually make around 9 large biscuits.
Swirl your pan a little so that some of the butter also gets on top and in between your biscuits.
Cook in 425-degree oven for about 25 minutes, or until the edges are crispy and the tops are golden brown.
Chocolate Gravy:
Sift dry ingredients together into a saucepan.
Slowly incorporate water or milk into dry ingredients. (My mom used water instead of milk!)
Heat at medium heat, stirring frequently, until the mixture is combined (no lumps!) and has thickened to a gravy consistency.
Finish with a tab of butter (and some people add a touch of vanilla, but this was not traditional in our house growing up).
NOTES:
While it is trendy now to call this chocolate gravy and biscuits, these were just “chocolate biscuits” to us when growing up. This treat is a staple for any weekend country breakfast. Since Zach doesn’t like chocolate biscuits, make sure you also make a quick & tasty sausage milk gravy to top those swim biscuits! Add grits and a side of bacon … and you’re home. I love you, kiddos!
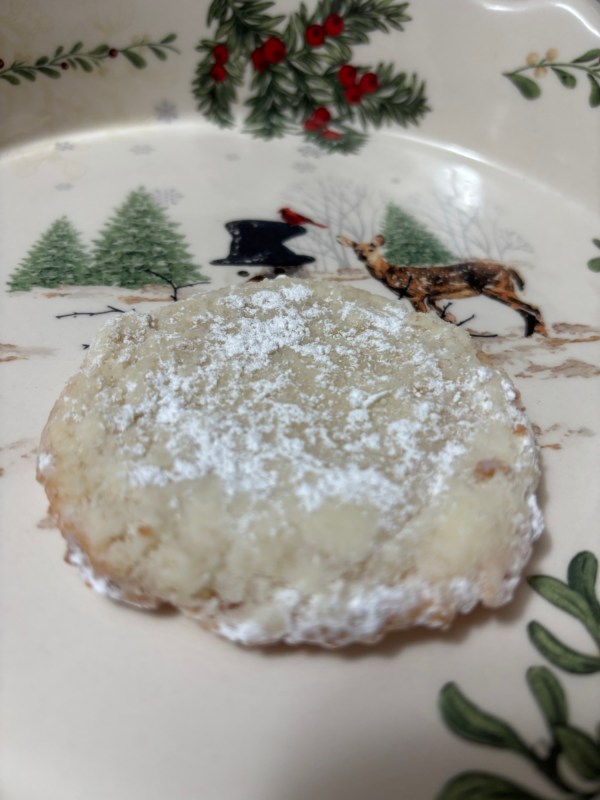
I originally found this recipe listed as Wedding Cookies, but the results were not what I normally associate as such. These cookies more closely resemble a lacey Almond Thin. I feel like the original recipe author perhaps forgot an ingredient when posting (an egg, maybe?), but the results were these rich, thin cookies that became my favorite contribution to the Christmas cookie season.
Let the baking madness that is a hallmark of Christmas begin!
Also: These are AMAZING cold. I’m talking straight-out-of-the-freezer cold! Trust me on this one …
INGREDIENTS
1 cup sugar
1/2 cup butter, softened
3 ounces of cream cheese
1 teaspoon vanilla
1/8 teaspoon almond extract
1 cup flour
pinch of salt
INSTRUCTIONS
Cream together the first 5 ingredients.
Fold the flour and pinch of salt into the creamed mixture.
Place dough into fridge to chill for 30 minutes while heating oven to 350 degrees.
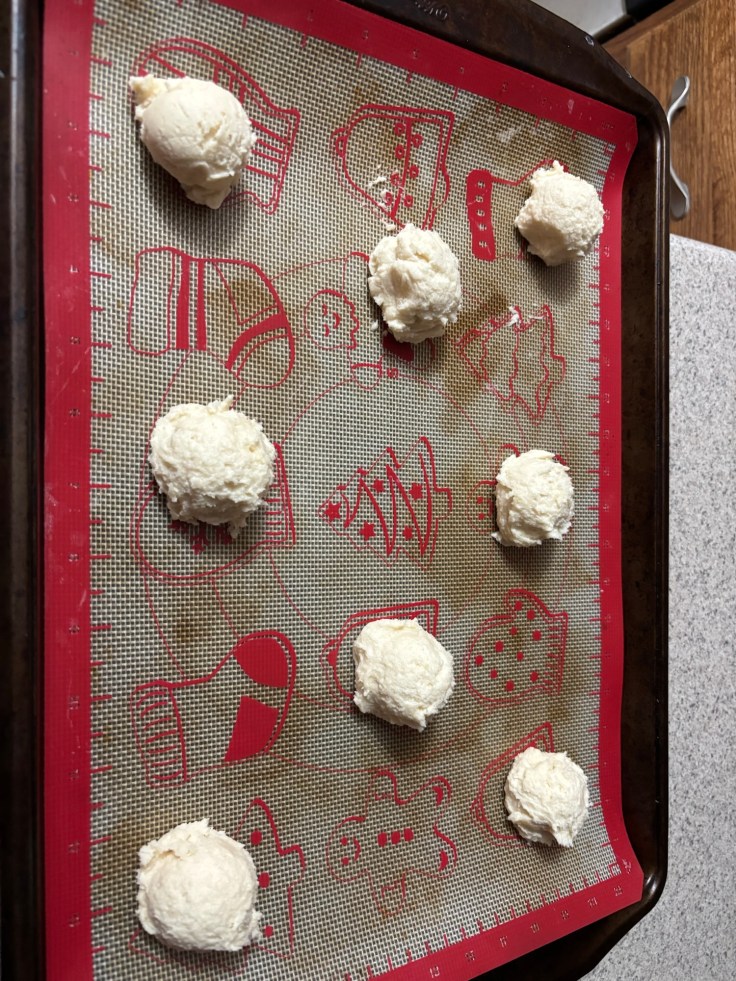
Using a small cookie scoop, place 8 dough balls evenly spaced onto ungreased cookie sheet.
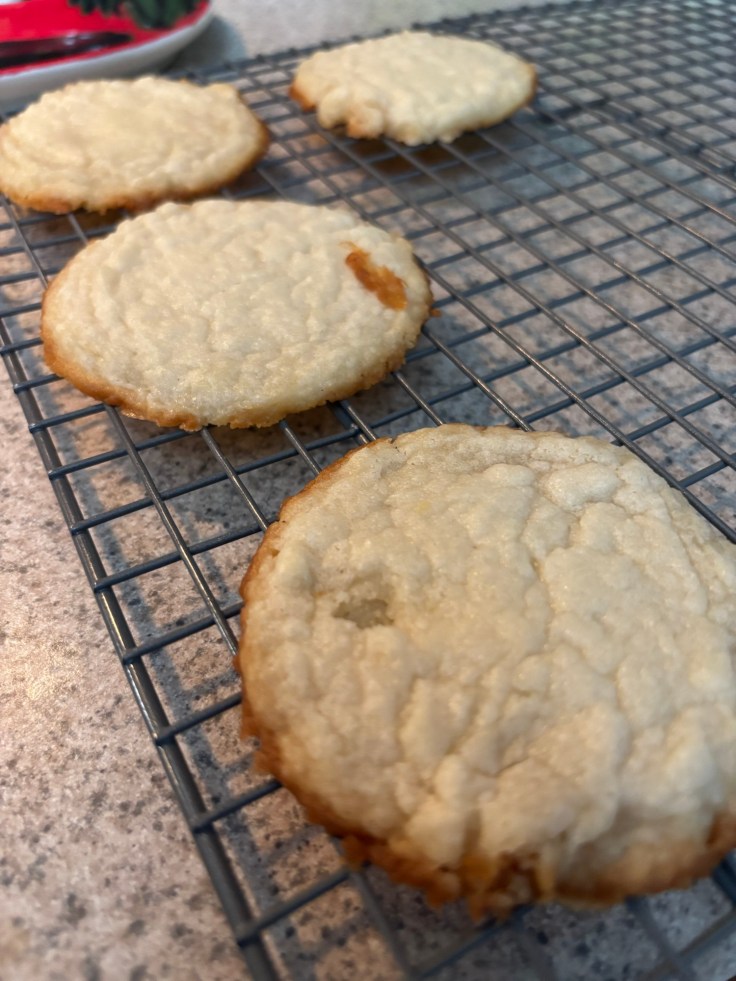
Place cookies into a 350-degree oven for 14-18 minutes (or until golden brown).
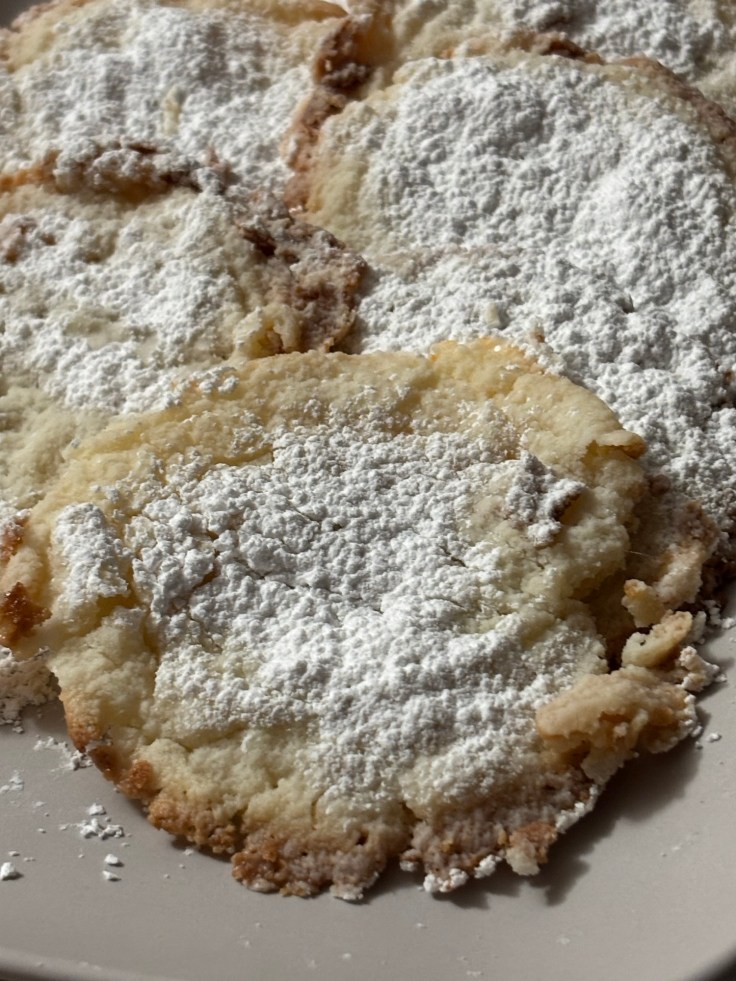
Cookies will be spread when cooking and become VERY delicate. They are done when edges are lacey and golden brown. I like the edges very lacey and messy as the crunch is spectacular.
Allow to cool almost completely before coating with powdered sugar.
Store cooled cookies in fridge (or freezer!) until serving.
Recipe highlight: The following is copy/pasted from Preppy Kitchen’s Blog and Youtube tutorials for posterity’s sake. There is invaluable additional information regarding this complicated recipe that can be found by clicking on the provided links. Please check out the original recipe for the best results!
Ingredients
Pastry Cream:
1½ cups whole milk (360mL)
1½ cups heavy cream (360mL), divided
1 vanilla bean split and seeds scraped
⅔ cup granulated sugar (133g)
¼ cup cornstarch (30g)
¼ teaspoon salt
6 large egg yolks
1 tablespoon cold unsalted butter
Puffs (Choux Pastry):
1 cup water (240mL)
½ cup unsalted butter (113g)
1½ tablespoons granulated sugar
½ teaspoon salt
1 cup all-purpose flour (120g)
3 to 4 large eggs
confectioner’s sugar for dusting
Instructions
For the Filling:
Combine the milk, ½ cup cream, and scraped vanilla seeds in a medium pot and place on medium-high heat whisking occasionally. Bring to a boil and immediately turn off the heat and set aside.
In a large bowl, whisk the sugar, cornstarch, and salt together then add the egg yolks. Whisk until pale yellow and smooth. While whisking, slowly pour in ½ cup of the hot milk mixture until incorporated. Whisk in the remaining hot milk mixture. Pour the mixture through a strainer back into the saucepan.
Cook the egg yolk mixture over medium-high heat, whisking constantly, until thickened and just starting to bubble. The whisk should leave a defined trace when moved through the custard. Remove from the heat and whisk in the butter until fully melted and combined. Transfer the custard to a large bowl.
Cover with plastic wrap, lightly pressing the plastic against the surface to prevent a skin from forming. Chill for at least 2 hours or until ready to serve. The custard can be made up to 2 days in advance.
For the Choux Pastry:
Preheat the oven to 425F. Line a large sheet pan with parchment paper.
In a large saucepan, bring the water, butter, sugar, and salt to a boil over medium-high heat. When it boils, immediately take the pan off the heat.
Add all of the flour at once and stir hard with a wooden spoon until all of the flour is incorporated. Return to medium heat and cook, stirring for about 60 seconds.
Scrape the mixture into the bowl of a stand mixer fitted with a paddle attachment (you can also use a hand mixer). Beat at medium speed for about 2 minutes to cool the mixture down. (it will still be warm.)
With the mixer running, add 3 eggs, one at a time, stopping to scrape down the sides of the bowl between each egg. Mix until the dough is smooth and glossy and the eggs are completely incorporated. The dough should be thick but fall slowly and steadily from the beater when lifted out of the bowl. If the dough is still clinging to the beater, add the remaining 1 egg and mix until incorporated.
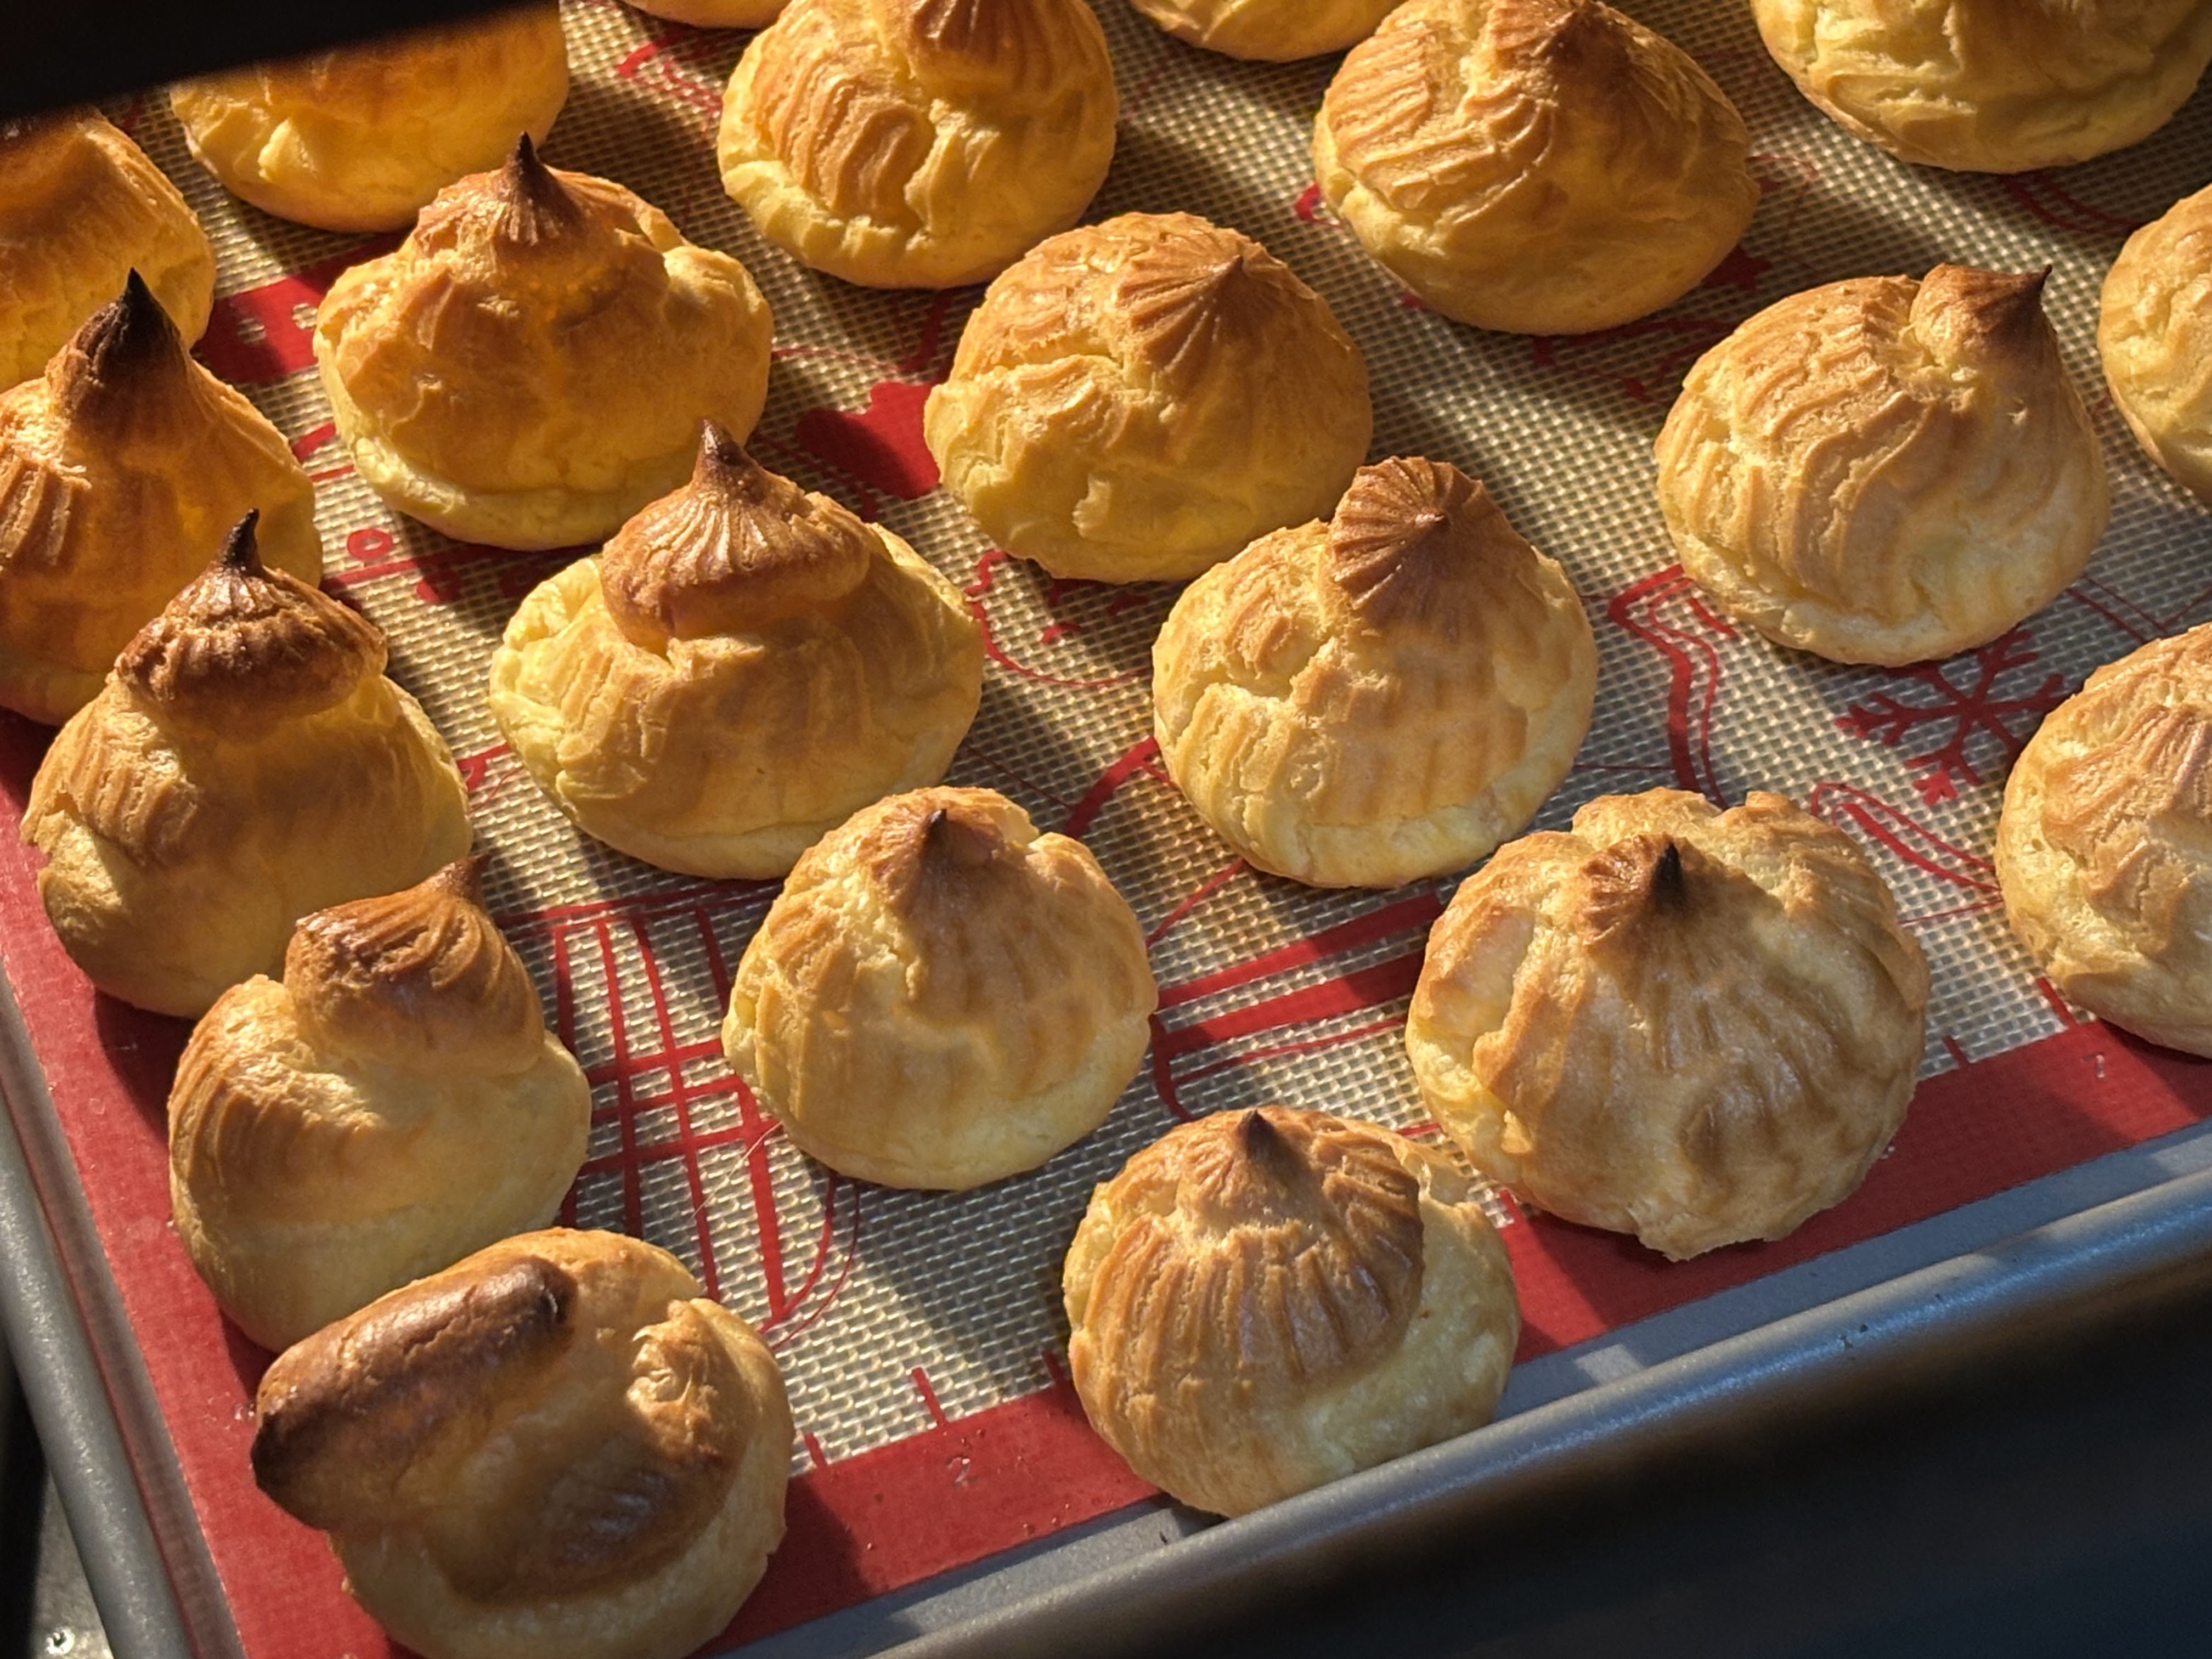
Transfer the dough to a pastry bag fitted with a large round tip and pipe dollops roughly 2 inches in diameter and 1 inch high. Lightly wet a finger and tap down the spike on top. (For additional color during baking, you can brush the tops of the dough lightly with an egg wash.)
Bake for about 20 minutes or until the dough is golden brown and appears dry. (Try not to open the oven door during the bake.) Remove the baking sheet from the oven. Carefully poke holes in the side of each puff by inserting the tip of a small knife about halfway into the puff. Return to the oven and bake for another 3 minutes. Remove and let cool completely on the baking sheet. (You can turn the oven off and leave the puffs in the oven with the door cracked open after baking if you’d like them to really dry out.)
For the Assembly:
Place the remaining 1 cup cold cream from the filling in a large bowl and beat until stiff peaks form. Remove the custard from the fridge and whisk it to break it up and smooth the texture out. Fold the whipped cream into the custard. Transfer the filling to a piping bag fitted with a star tip
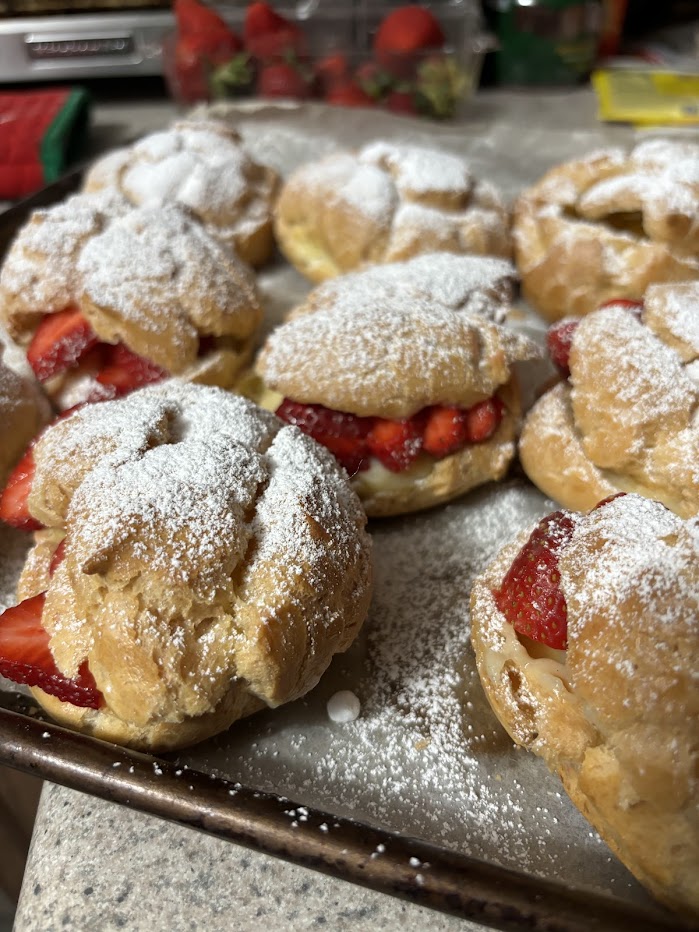
Cut the tops of the cooled puffs off with a serrated knife. You can scoop out some of the softer strands inside, if desired. Pipe the cream filling into each pastry then place the cap on, and lightly dust with confectioners’ sugar. Cream puffs are best if enjoyed within a few hours of assembly. Any leftovers can be stored in the fridge in an airtight container for up to 2 days.
Notes
I am STILL trying to perfect this dessert despite it being a family favorite. It is a must-have for my brother’s birthday! And of all the recipes for creme puffs, Preppy Kitchen’s version is definitely my favorite to date!
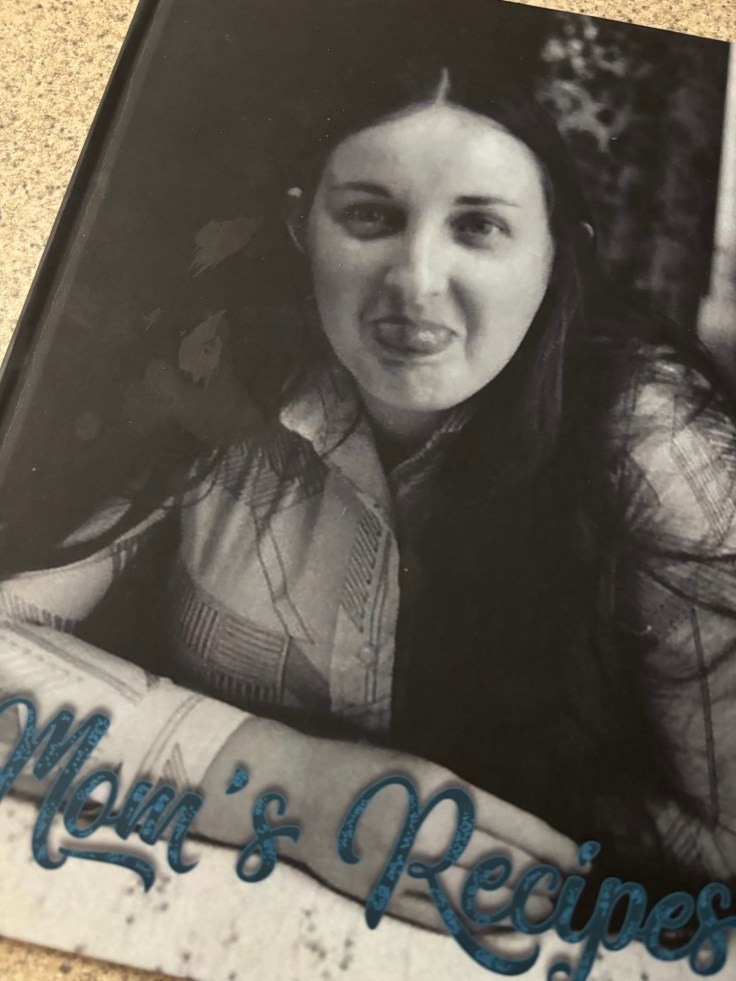
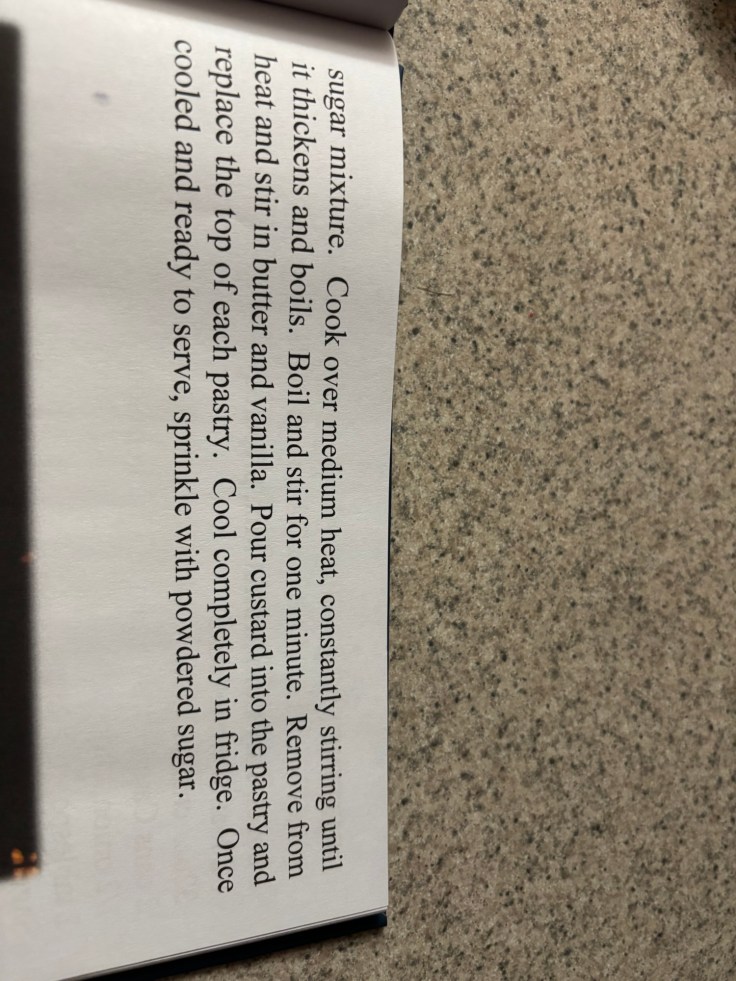
However, for nostalgia’s sake, I am including a picture of the recipe that my mother used to make creme puffs. The version in the images below was included in a recipe book that was lovingly put together by one of my sisters for all of my siblings after my mother’s passing. While the recipe from Preppy Kitchen is an elevated version, mom’s version is and always will be near and dear to my heart.
2 C chocolate morsels (milk chocolate, semi-sweet, dark … your choice!)
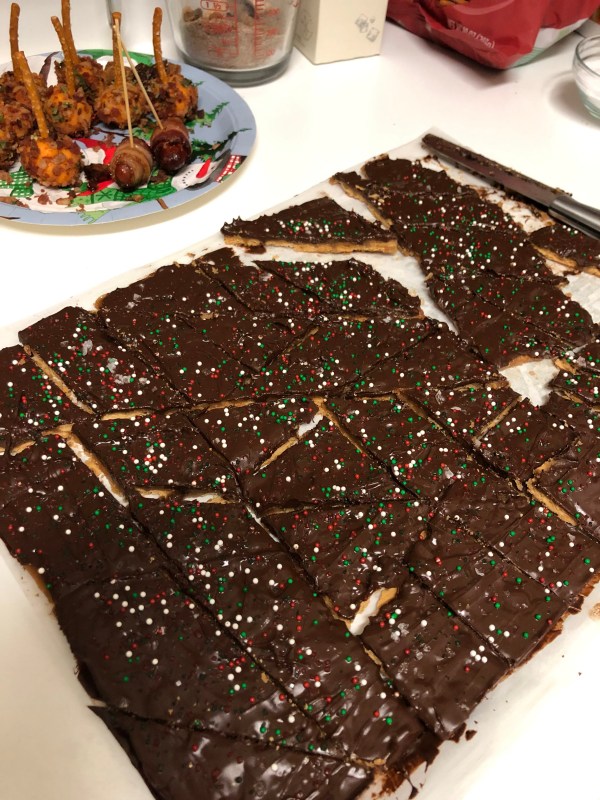
40 saltine crackers (or cracker of your choice … including graham crackers of pretzels!)
Topping of your choice, optional (Example: nuts, sprinkles, flaked sea salt)
INSTRUCTIONS
Line jelly roll pan with foil. Spray foil with nonstick spray. Lay crackers flat onto foil-covered pan.
Cook butter and brown sugar for 6-10 minutes before pouring over crackers.
Bake in a 350 oven for 8-10 minutes or until caramel mixture is bubbly.
Remove from oven and let sit for 3-5 minutes. Sprinkle chocolate chips on top of and let melt for about 5 minutes. Chocolate morsels will be shiny and soft when ready to spread. Immediately sprinkle the topping of your choice, if desired.
REVIEW
So rich and addictive. You simply cannot tell that crackers are used as the crunchy base for this bark. Totally amazing for an easy holiday treat. A favorite year after year …
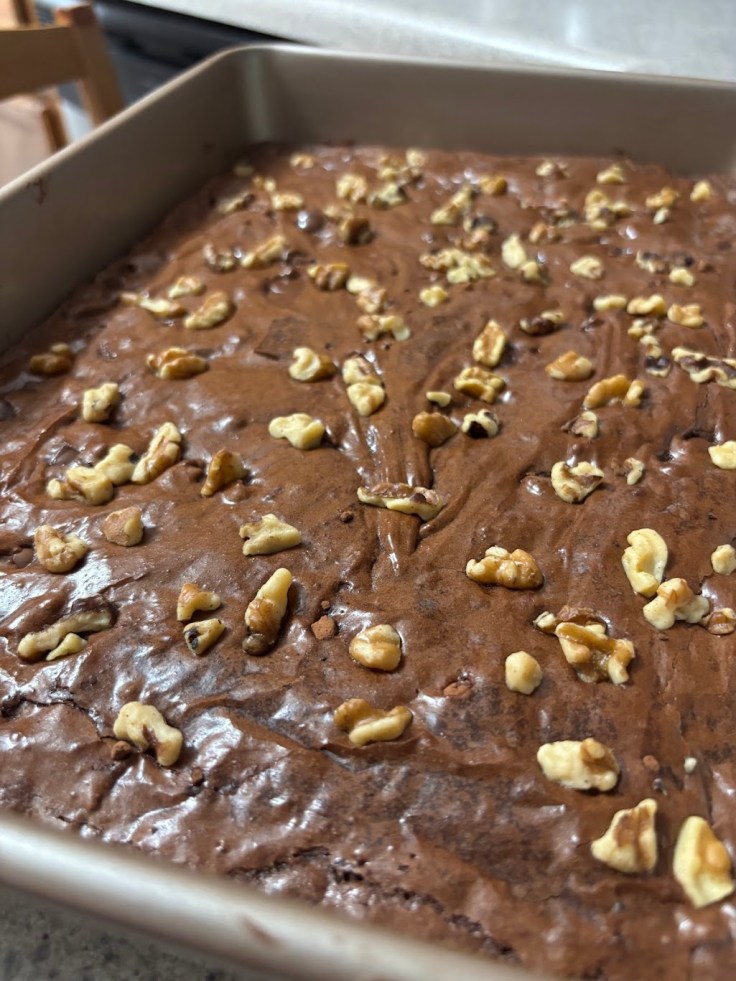
Recipe Highlight: These are rich, fudgy brownies with a perfect crinkled top. The chocolate tastes dark and decadent without being bitter, and the chocolate chips really elevate this sweet treat into something really special.
Please check out the original recipe from Baker by Nature for tons of additional information regarding this recipe! I can’t recommend this enough, as it goes into depth about WHY the ingredients work so well in this recipe. Baking is both an art and a science, and this recipe is beautifully and meticulously crafted.
INGREDIENTS
1 cup (120g) all-purpose flour
1/2 teaspoon baking powder
1/2 teaspoon salt
1/2 cup (43g) unsweetened cocoa powder
1 teaspoon espresso powder optional (don’t use if you don’t like coffee)
3/4 cup (170g) unsalted butter
2 Tablespoons (28ml) oil canola, vegetable, or coconut will work
1 and 1/3 cups (265g) granulated sugar divided
2 large large eggs
1 large egg yolk
2 teaspoons vanilla extract optional, but recommended
3/4 cup (128 grams) chocolate chips
INSTRUCTIONS
Preheat oven to 350 degrees (F) (175 degreed C). Line an 9×9-inch baking pan with parchment paper. Spray lightly with non-stick baking spray and set aside.
In a large bowl, sift together the flour, baking powder, salt, cocoa powder, and espresso powder. Set aside until needed.
In a medium saucepan, combine the butter, oil, and 1/3 cup of the sugar. Heat over medium heat, stirring frequently, until butter is completely melted. Remove from heat.
In a large mixing bowl, combine the eggs, egg yolk, vanilla (if using) and remaining sugar. Whisk until well combined, about 30 seconds.
Slowly, pour the warm butter mixture into the egg mixture, adding it very gradually (a little bit at a time) and whisking constantly until completely combined.
Add in the dry ingredients and chocolate chips and, using a rubber spatula, slowly stir until just combined. *Do not over mix! Stop stirring when you see the last trace of dry ingredients. Over mixing will give you cakey brownies.
Scrape the batter into the prepared pan and smooth the top.
Bake for 28 (to 30 minutes) or until the edges are firm and the top is shiny and slightly cracked.
Place pan on a cooling rack and cool completely before slicing.
If desired, top with walnuts.
NOTES
Please note that the recipe as written calls for a 9 x 9-inch pan.
I doubled the recipe to accommodate a 9 x 13-inch pan & opted to top my brownies with walnuts before baking. I can’t stress enough how much we loved these bakery-quality gems. It will forever be my go-to when it comes to satisfying my craving for chocolate.
Kiddos: When you make these, know that I used a mixture of different chocolate chips that I had on hand: some milk chocolate, some dark chocolate, a few semi-sweet. It was a great way to get rid of stray chocolate chips that remained behind after one of Audrey’s notorious cookies baking sprees. I can’t express how proud I am that I have passed down my love of cooking to all of you.
Adjust oven rack to lower-middle position and preheat oven to 400°F. Line a baking sheet with parchment paper.
In a medium bowl, make your citrus-infused sugar mixture by combining sugar and orange zest and mixing with your fingertips. Really get in there and mix the zest and sugar between fingertips until the oils are released from the zest! You will know you are there when the sugar is moistened and fragrant. Let the mixture sit on counter for at least 30 minutes to fully infuse flavors if you want to maximize the flavor, but waiting is not a required step.
To the citrus-infused sugar, add in the flour, baking powder, baking soda and salt and mix until combined.
Grate butter into flour mixture on the large holes of a box grater; use your fingers to work in the butter until the mixture resembles coarse meal.
In a small bowl, whisk the sour cream and egg until smooth.
Using a fork, stir sour cream mixture into flour mixture until large dough clumps form. Use your hands to press the dough against the bowl into a ball. The dough will be sticky first, but as you press, the dough will come together.
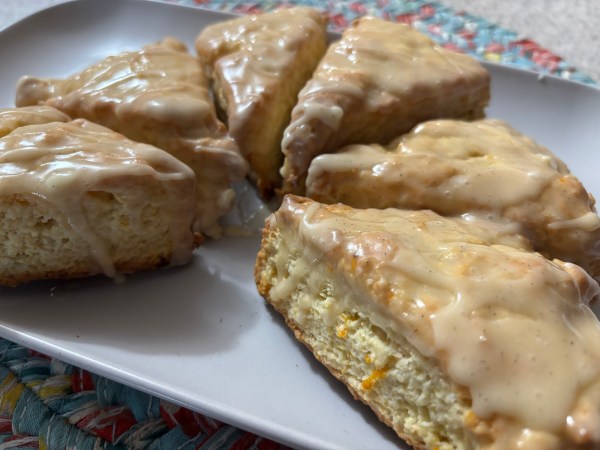
Place on a lightly floured surface and pat into a 7-inch circle about 3/4-inch thick. Use a sharp knife to cut into 8 triangles; place on prepared baking sheet, about 1 inch apart. Bake until golden, about 15 to 17 minutes. Cool for 10 minutes and prepare the glaze.
In a medium bowl, prepare the glaze by mixing together the melted butter, confectioners’ sugar, vanilla and orange juice. Whisk until smooth. Dip the top of the scones into the glaze and allow the glaze to harden. Double-dipping is best!
NOTES
Kiddos: I love you so much! Please visit the link provided to the original recipe for pictures of the process used in making these amazing scones. As stated in the original recipe, these scones are peak when double-dipped in the glaze. We’ve added cranberries to this recipe, as well as subbed lemon for the citrus and using diced fresh strawberries. I’ve always wanted to do the same with blueberries. The sky is the limit! The base recipe is FANTASTIC, and these scrumptious scones are a great addition to any day! Enjoy!
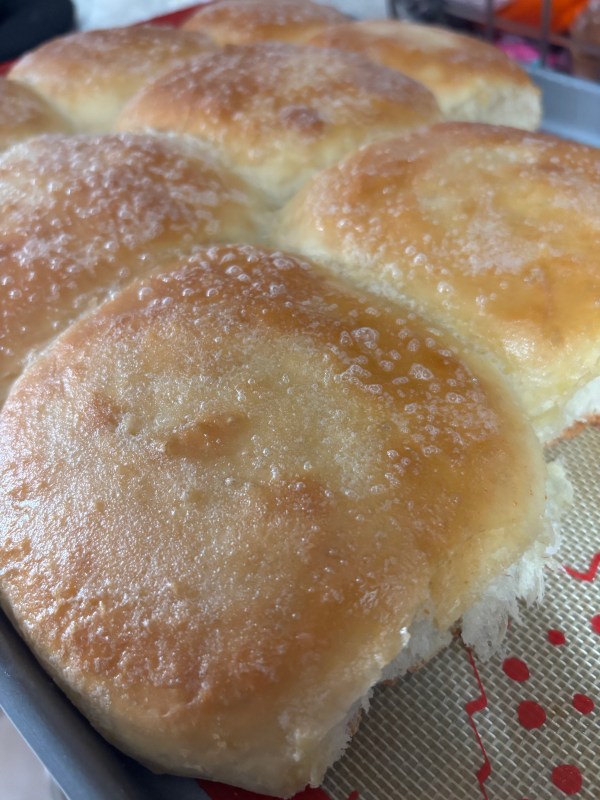
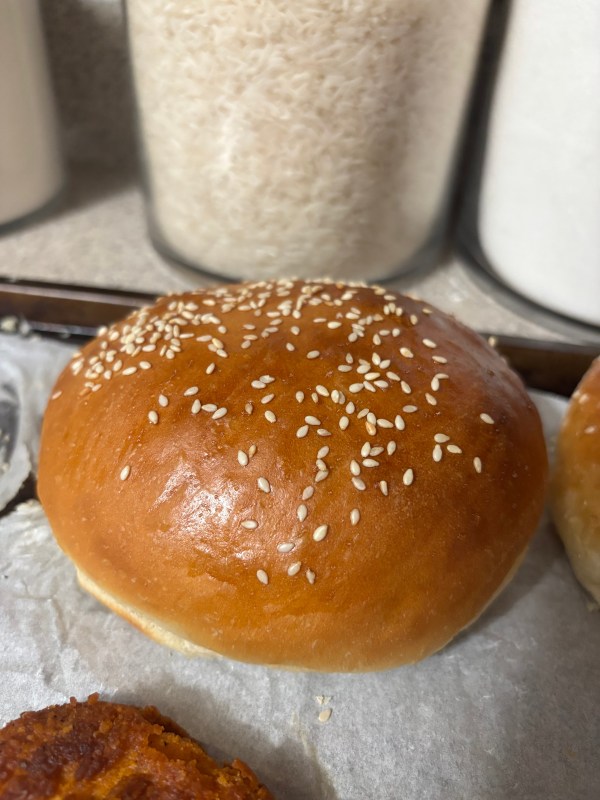
Recipe Highlight: This is the absolute BEST recipes for sandwich buns or rolls that you can possibly make in a hurry! In less than 3 hours total, you can have amazingly soft bread that are especially delicious for burgers or chicken sandwiches! I can’t wait to use them for breakfast sandwiches as well. The slightly sweet, yeasty dough yields a crowd pleaser … for sure!
Makes 6 to 8 buns.
INGREDIENTS
1 large egg
1/2 cup of milk (4 ounces)
1/4 cup water (Approximately 2 ounces … just enough until the totality of the 1st three ingredients equals 8 ounces. See instructions.)
2 tbsp granulated sugar
3/4 tsp salt
2 tbsp softened butter
2-1/2 cups (340 grams) of All-Purpose Flour
1-1/4 tsp bread machine or quick rise yeast
INSTRUCTIONS
Using a food scale, add 4 ounces of milk to a bowl. Then add egg. From there, add just enough water so that the total liquid mixture is 8 ounces. Using the cup measurements provided is pretty on point if you don’t have a food scale.
Add salt and sugar to the liquid mixture and stir until egg is
Add liquid mixture to bread machine, adding your softened butter and AP flour in order listed.
Make a well in the top of the dry mixture and place your yeast on top.
Using the DOUGH setting on your bread machine (our current model is #8 on the setting menu), allow your machine to do the hard work for you! It will mix the dough and proof it, a process that takes around 1-1/2 hours.
Once dough has completed this process, turn out dough onto a lightly floured surface and divide into 6 to 8 dough balls. Once rounded out, place on a parchment lined baking sheet. Lightly press each ball with floured fingertips until they are around 1 inch tall.
Let dough rest in a warm environment for about 45 minutes so that they can complete their final rise. If you don’t have warm proofing area, putting the rolls into an oven that has been preheated for a minute and a half and then leaving the oven light on works perfectly!
Once rise is complete, preheat oven to 400 degrees.
If desired, brush tops of rolls with egg whites and then sprinkle with sesame seeds or topping of your choice.
Bake for around 12 minutes or until tops are beautifully brown.
Allow rolls to cool for at least 15 minutes.
Once cooled, cut horizontally and top as desired!
NOTES
For my kiddos: Enjoy! I hope that these buns elevate your sammies! These are so tasty! Just know that I love you more than homemade bread … and that says A LOT!